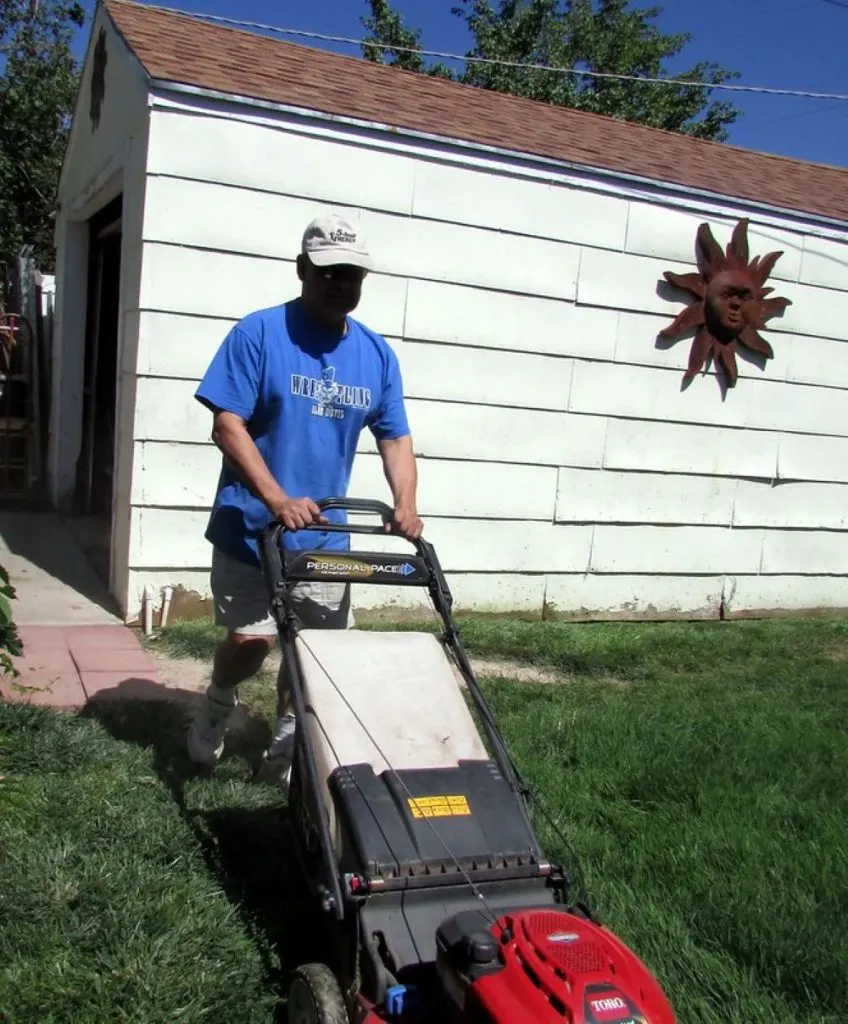
When your lawnmower is not starting, the problem can be a faulty primer. The purpose of a primer is to freshen up the gas and improve combustion. You prime the lawnmower to ensure that the gas goes into the carburetor, and the carburetor supplies a fuel-air mixture to the combustion chamber for the engine to start. Without the priming, there would be no spark, and the mower won’t start. The primer bulb on some mowers tends to stop working after a certain amount of wear. In that case, it is helpful to know how to turn the machine on without it. This blog post will help you solve the problem, and you won’t have to worry about your primer ever again.
How to prime a Lawnmower without Primer, step by step:
- Step 1: Preparation of the lawnmower.
- Step 2: Locate the primer bulb near the carburetor. It will be red or black.
- Step 3: Locate the air filter near the engine.
- Step 4: Remove the air filter gently and make sure not to damage it.
- Step 5: Spray the starter fluid at the place where the air filter was before. Spray it slowly and evenly to avoid clogging.
- Step 6: Reinstall the air cleaner back in the engine.
- Step 7: Now, try to start the lawnmower as you would usually do. If the starter fluid worked, the lawnmower would turn on.

What is a Primer, and What Happens if it Stops Working?
Usually, lawnmowers have a small carburetor compared to larger cars or other vehicles. A small carburetor tends to dry up faster. And when the user tries to start the lawnmower, the carburetor won’t have a single drop of fuel, preventing the machine from starting.
A primer is there to solve this problem. It is used to push (or pump) fresh gas into the carburetor. This way, delivery of fuel-air charge to the combustion chamber becomes possible, and you can start the mower. If the primer does not work, the mower won’t start. So, if you want the mower to start, some gas must be sent to the carburetor. There are generally two types of primers: push bulbs and automatic primers. The bulb primers work with some muscle power, while the other works from the inside. They work a little differently even though they have the same purpose. A bulb primer is a piece of rubber on the outside that pushes gas to the carburetor. It is a sort of small pump. It takes fuel from the tank and pushes it directly into the carburetor. The other type of primer is automatic. When the mower is turned off, the primer keeps some fuel. The next time you try to start the engine, it can deliver this fuel to the combustion chamber. In both ways, the whole focus is to push fuel through the carburetor into the combustion chamber.
How can a Lawnmower Primer Stop Working?
A primer can fail due to many different reasons. But three of them stand out the most:
- Cracked bulb: If you have a bulb primer, then there’s a chance this small piece of rubber is broken, cracked, or just torn. The damaged bulb will fail to send the fuel into the combustion chamber, thus keeping the mower from starting.
- Clogged fuel filter: The primers take the fuel from the fuel filter. When it is blocked or clogged, there’s no way for gas to reach the combustion chamber, and the primer is unable to do its job.
- Cold Primer: When an automatic primer has been idle for an extended period, there’s a high chance it doesn’t have any fuel. No matter how hard you try to start the lawnmower, it just won’t start because there’s no fuel reaching the combustion chamber.
It doesn’t matter what kind of problem you’re facing with the primer, and you do not need to buy a new mower. Instead, you can start the lawnmower temporarily without a primer and fix the problem later. This way, a perfect day for mowing won’t go wasted.
Comprehensive Guide on How to Prime a Lawnmower without Primer
Priming a lawnmower without a primer is a fairly easy task. Here are some things about priming that you should know before starting:
Priming the lawnmower will take somewhere between 5 to 20 minutes, depending on how good you are at it. If you’re experienced with lawnmowers, then you won’t need more than 5 minutes. For this process, you would need some starting fluid. It is a fuel-related chemical that is used to replace fuel when the machine stops moving. This fluid can be somewhat thick. So, use it with care without spraying too much.
● Things You’ll Need:
- Flat-head / Phillips Screwdriver (Optional)
- Starter fluid
● Step1: Prepare the Lawnmower:
Prepare your lawnmower for the job. Start by checking the fuel tank. Take the cap off and see inside. Proceed by removing the top cover of the mower. Check that everything, including the carburetor, filters, and fuel lines, is fine. A single disconnection can mean that the mower will not start. Once you have checked everything and it is all correct, then you’re ready to prime.
● Step 2: Locate the Primer Bulb:
Locate the primer bulb. It is usually located under the carburetor and is red or black. Check if it is cracked or broken. A broken primer is the reason behind your mower not starting. But if it is not damaged, then you need to press it three times. Pressing it should spray some fuel into the combustion chamber to aid the process. Now you can try turning on the lawnmower and see if it works. If the mower starts, all good. If not, proceed to the next step.
● Step 3: Locate the Air Filter:
Locate the air filter, usually located on the other side of the engine. Remove the air filter cover. Be sure not to be too harsh and cause any damage to the machine or the air filter. Opening the lid will allow you to remove the filter from the engine.
● Step 4: Remove the Air Cleaner:
The air filter needs to be removed because it is usually blocking the place where the starting fluid is to be sprayed. The air filter is usually placed inside a casing. It would help if you took it off the housing as necessary. You may need to use a screwdriver. Memorize its placement while taking it off, as you will need to put it back later. With the air filter removed, you should have access to the hole where the carburetor is located.
● Step 5: Spray the Starter Fluid:
It’s time to spray the starter fluid into the machine. Spraying the starter fluid is pretty easy. Grab the fluid bottle and spray it into the hole where the air filter was located. This hole is basically the air intake. It would help if you poured a single squirt—nothing more to prevent any clogging with excess fluid because the starter fluid is quite viscous. The starter fluid sprayed into the air intake hole will reach the carburetor and the bowl. With the starter fluid sprayed, your mower is now almost there.
● Step 6: Reinstall the Removed Components:
You have to put the air filter back to ensure that no dirt can enter the engine. If the air filter seems too old or dirty, then you should replace it. Or you can clean it with the help of a brush and some water. Proceed by carefully placing it back into its casing. Secure it properly. Be quick to put the cover back on the air cleaner and close everything. Placing the lid will prevent the fluid from evaporating. Now the mower is ready to turn on.
● Step 7: Start and Test the Mower:
It is now time to test whether the starter fluid does the job. Turn on the mower as you would generally do, except you don’t have to push the primer bulb this time. Grab the pull cord and pull it. Or, if your mower has an electric starter, use it as you would normally do. The mower may not start immediately. But after some tries, it should start. If the mower doesn’t start after several attempts, spray one more squirt of the starter fluid into the carburetor. Then try to start the mower once again. If the mower starts this time, you have completed the task successfully.
Final Remarks:
Starting a lawnmower without a primer is quite an easy task. Spray some starter fluid in the location where the air filter is. Always take some precautionary measures when working with flammable substances like starter fluid. It is extremely volatile and can cause permanent damage. If you follow these steps carefully, it will make your task easy. If the lawnmower fails to start after following all these steps, you may have to change the primer or get help from an expert.
Is it common for primer bulbs to fail?
Yes, primer bulbs can fail due to various reasons such as being cracked, clogged, or cold. You can still start your lawnmower without a working primer by using starter fluid. Hope this helps!
Really appreciate the step-by-step guide, very useful!
Thank you Wyatt! I’m glad you found the guide useful for priming your lawnmower without a primer. Happy mowing!
Very helpful post, I now know what to do if my primer fails!
Glad you found the post helpful! Good luck with starting your lawnmower without the primer. Feel free to reach out if you need any more assistance.
Great tutorial, very clear and helpful steps!
Thank you, Shannon! I’m glad you found the tutorial helpful. Let me know if you have any other questions about lawnmower maintenance.
Are there any alternative methods to prime a lawnmower?
Hi Melinda, you can prime a lawnmower without a primer by using starter fluid. Follow the steps in the blog post to help get your lawnmower started without worrying about a faulty primer.
This post saved me a lot of time and money, thank you!
Thank you, Steve! I’m glad the post was helpful for you. If you ever have any more questions or need assistance, feel free to reach out.
I love how this article explains everything so clearly!
Thank you, Anita! I’m glad you found the explanation clear. Let me know if you have any other questions or need further assistance with your lawnmower.
Thank you for sharing this valuable information!
Thank you, Albert! I’m glad you found the information valuable. Let me know if you have any other questions or need further assistance.
Can the primer bulb be replaced easily?
Yes, the primer bulb can be replaced easily on most lawnmowers. Just follow the steps in the blog post carefully for a successful replacement. Good luck!
This article fails to address the potential safety hazards of using starter fluid and does not provide any alternative solutions for a faulty primer. The advice provided may result in damage to the lawnmower or potential injury to the user.
Thank you for your feedback, Christy. I appreciate your concern and will consider addressing safety hazards related to starter fluid in future posts.
Clear instructions, will definitely try this method!
Thank you, Lori! I’m glad you found the instructions helpful. Let me know if you have any questions or need further assistance. Happy mowing!
Is it possible to prevent the primer from failing?
Yes, it is possible to start a lawnmower without a primer. Follow the steps in the blog post to easily prime your lawnmower without worrying about the primer failing again.
What is the average lifespan of a primer bulb?
The average lifespan of a primer bulb is typically 2-3 years. If it stops working, you can still start the lawnmower temporarily without it. Hope this helps!
Amazing tutorial, easy to follow and understand!
Thank you, Juan! I’m thrilled that you found the tutorial helpful and easy to follow. Happy mowing!
I had no idea you could start a lawnmower without a primer!
Thank you, Irma! I’m glad you found the information helpful. Starting a lawnmower without a primer can be a lifesaver in a pinch. Let me know if you have any other questions.
Thanks for the detailed explanation, will try this method!
Glad the method worked for you! Happy mowing!
How do I know if my primer bulb is damaged?
Hi Sheila, if your lawnmower won’t start, a damaged primer bulb could be the issue. Check for cracks or clogs. If it’s broken, try priming the mower without it using starter fluid. Hope this helps!
What should I do if the primer bulb is not the issue?
Hi Dolores, if the primer bulb is not the issue, try priming the lawnmower without primer following the steps in the blog post. It should help you start the mower without any problems.
How do I know if my primer is automatic or bulb type?
To determine if your primer is automatic or bulb type, look for a small rubber bulb near the carburetor. If you have to manually pump it, it’s a bulb primer. If it automatically primes, it’s an automatic primer. Hope this helps!
What maintenance should I do to prevent primer issues?
To prevent primer issues, ensure the primer bulb is intact and spray starter fluid into the carburetor directly. Follow the steps outlined in the blog post for a quick fix.
Thank you for explaining how to start a lawnmower without a primer in such simple steps. It’s great to know there’s a solution when the primer stops working.
Thank you for your kind words, Norman. I’m glad the solution for starting a lawnmower without a primer worked for you. Happy mowing!
Can I use something else instead of starter fluid?
Yes, you can use starting fluid as an alternative to primer fluid to start your lawnmower. Just follow the steps outlined in the blog post to get your machine up and running.