Most gasoline walk behind lawnmowers don’t need batteries to start and operate, but riding lawnmowers, on the other hand, require a battery to start them up and run different electric-powered accessories such as headlights, etc. While lawnmower batteries typically last up to 3 years, you might end up with a weak or dead battery if you do not maintain them properly. So if your riding lawn mower or lawn tractor is having difficulties when starting or doesn’t start at all, then there is something wrong with the starting system or the battery charging system, and a good place to start troubleshooting is by testing the battery to see if it is functioning well or not.
How to test a lawnmower battery? Here is how you can do it.
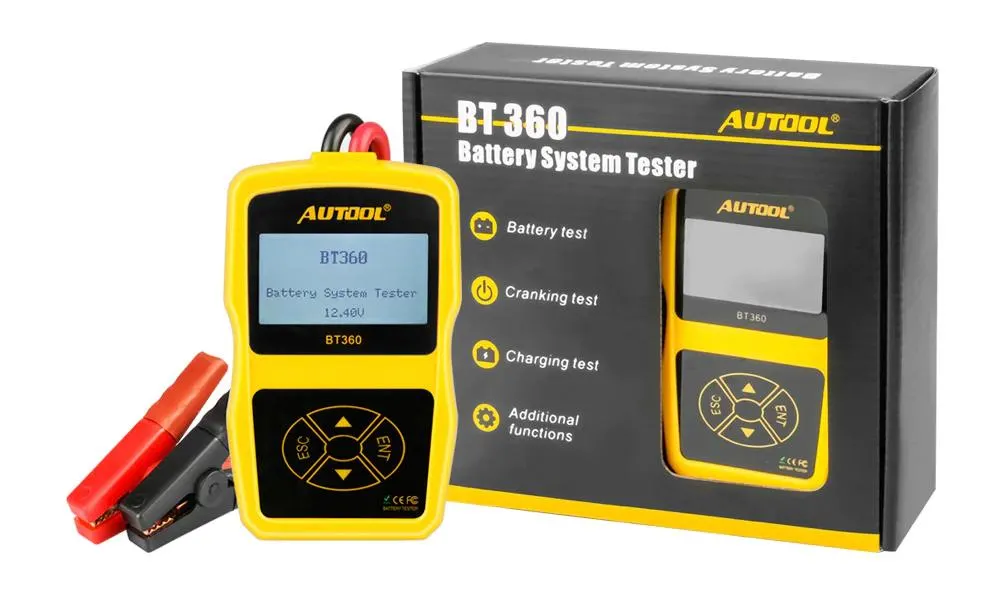
You can use a device called a multimeter to test if your lawnmower battery has gone bad or not. Connect the multimeter to the battery, and if the multimeter shows less than 12 volts, it is time to replace the battery. A healthy battery should show 12 volts or more. If your battery has damage such as cracks, bumps, leaks, or broken terminals, you should also replace it.
If you have been using the same battery in your lawnmower for more than 3 to 5 years then it normally has reached the end of its useful lifespan as well.


If the battery is new and you are experiencing starting issues or if the battery is discharging too quickly then you can test it by following some simple steps explained in this article so keep reading.
Contents
Testing a Lawn Mower Battery
There are two ways you can test a lawnmower battery and you can use either one of these methods or a combination of both for testing your lawnmower’s battery. These two battery testing methods are:
- Multimeter testing of the battery
- Visual inspection of the battery
You can perform both of these tests when trying to determine if your lawnmower’s battery is the reason behind the starting issues or not.
● Testing a Lawnmower Battery using a Multimeter (Step by Step)
- Step 1: Locate the battery: Before you start the testing process, you have to locate your lawnmower battery. The best way to do this is by checking the user manual of your lawnmower to find out the exact location of the battery. Usually, riding mowers have the battery secured under the seat, and to access the battery, you have to remove the seat. Or another common place where your riding lawnmower’s battery might be located is inside the hood or engine cover of your mower, behind the engine, and you can easily access it by opening the hood of your mower.
- Step 2: Turn the switch: Turn the ignition switch to an on position and switch on the lights of your riding lawnmower without starting the engine up. Doing this will get rid of any surface charge that the battery might hold, and you will get a more accurate reading just by leaving the lights of the mower on for one minute before connecting the multimeter.
Note: If your lawnmower’s headlight is dim when turned on without starting the engine, then it means the battery is already low on charge, and you can connect the multimeter without doing this step.
- Step 3: Set the multimeter: Set the multimeter to a 12-volt setting since most of the riding lawnmower batteries are 12-volt batteries. But it is a good idea to check the user manual and the battery label to make sure the battery of your lawnmower is a 12-volt battery since some mowers might have a 6-volt battery instead of a 12volts. In the case of a 6-volt battery, you will have to set the multimeter to the 6-volt setting before connecting it to the battery.
- Step 4: Make the connections: Now comes the main step to connect the multimeter to the battery to get the reading of the battery voltage. Depending on the type of multimeter you have, it might have clamps attached to the battery terminals or simple needle-like metal pieces that you have to hold against the terminals. The wires and the multimeter probes will be color-coded with red color indicating the positive and black color indicating the negative wire. And when connecting the multimeter with the battery terminals, make sure that you connect the positive probe with the positive terminal and the negative probe with the negative one.
Note: If you are unsure which terminal of the battery is positive and which one is negative, look for a (+) or (-) sign near each battery terminal. The (+) sign indicates the positive terminal, while the (-) indicates the negative terminal. If you can’t see these signs on the battery, then the chances are that dust and debris cover them, and you need to clean the battery around the terminals using a dry cloth to reveal the signs.
- Step 5: Note the reading: As soon as you connect the multimeter wires to the positive and negative terminal of the battery, the multimeter screen will show a reading that will tell you whether your battery is in good shape or not. If you have a 12-volt battery and the multimeter shows a reading of 12.6, or in the case of a 6-volt battery, the reading is 6.6 and above, then this shows that you have a healthy battery. But if the voltage is 11 volts or 5 volts, then there is an issue with the battery, and you need to replace it.
Before doing this test make sure that you have charged the battery sufficiently since a battery that hasn’t been charged or has been sitting for long periods of time will not show a correct reading.
Visually Inspecting the Lawnmower Battery
Sometimes simply taking a good hard look at your lawnmower’s battery is going to give you some idea about whether it is still useable or not. Some things you will need to look out for when visually inspecting your lawnmower battery are:
1) Swollen or bulging battery: If the battery has a bulge or it seems swollen, then it is a sign that it has built-up gas inside its case. A swollen battery is an indicator that you can no longer use this battery on your lawnmower because it can explode and cause damage to the lawnmower’s engine and you as well. So if you notice that your lawnmower’s battery is swollen, don’t turn the lawnmower engine on. Instead, you will have to remove the battery from the lawnmower carefully, and it is best to call a professional to safely remove a swollen battery. A very swollen battery may be an indicator that your lawnmower’s alternator is overcharging the battery, and you might also want to test the alternator as well.
2) Broken battery terminal post: If you notice that one or both of the terminal posts where the positive and negative wires connect to the battery are broken or damaged, this is a telltale sign that you will need a new battery. A broken battery terminal post may result from corrosion caused by the acid present inside the battery. In some cases, the seal between the terminal post and the internal battery may damage, causing acid to escape and corrode the battery’s terminal post. Ultimately the terminal post is going to break, and this can cause a short circuit. A short circuit is dangerous because it can burn out the wiring of your lawnmower. And it is not recommended to try to repair a broken battery terminal post. Therefore, it is best to replace the battery if it has a broken terminal post.
3) Cracks in the battery casing: To check the battery casing for cracks and openings, you will have to remove the battery from the lawnmower by undoing the strap that secures the battery to the battery tray, use gloves while performing this step because there might be acid on the surface of the battery. This will allow you to get a closer look at the battery and identify any signs of damage. Next, clean any dirt off the battery using a cloth and look for cracks in the battery casing or any signs of acid droplets on the battery casing. If you notice any cracks or leaks in the battery casing and the battery is under warranty, you should immediately contact the store to claim the warranty. Still, if the battery isn’t under warranty, you should replace it as soon as possible because acid dripping from the battery is going to end up dripping on the battery tray or the surrounding engine components of your lawnmower and cause corrosion.
Note: When handling a battery always make sure you have your safety glasses and safety gloves on and if the battery is leaking acid don’t place it on a wooden surface such as a table as it will damage the surface.

4) The low water level in the battery: Flooded batteries are still used in many lawnmowers. These types of batteries require you to maintain a certain level of water by regularly adding distilled water to them. There is a water level indicator on the side of the battery, and if you gently move the battery, you can clearly see if the water levels are at the recommended level or not. If the water levels have been low for a long time, it causes an increase in the acid concentration and reduces the ability of the battery to charge itself and hold the charge for normal periods. If you notice that the water level is lower than normal or worse, the battery is completely dry. You will have to refill the battery with distilled water and allow it to trickle charge by connecting it with a battery charger for up to 8 hours. If the battery is not charging after adding water and charging, it might be permanently damaged due to being used with a low water level and replacement.
5) Testing the battery under load: The most effective way to test the health of your lawnmower battery is by testing it under a load to see if the battery can maintain its voltage when a load is applied to it. Normally a mechanic will use a battery load tester to apply a load to the battery to see how it performs under load. Still, you can do a simple load test yourself using the headlights of the lawnmower as a load to check the battery’s health. To perform this simple visual load test, you will need to follow the following steps:
- Step 1. Turn the ignition key to “on” position without firing up the engine of the lawnmower to allow the headlights of the mower to be turned on.
Note: It is best to do this test at night to be able to see if the headlights dim significantly or not clearly. You can also ask someone to start the engine of the mower while you stand in front of the mower to make sure that you notice any change in the brightness of the headlights.
- Step 2. Now turn the lawnmower’s engine on and notice any change in the brightness of the headlights. It is normal for the headlights to dim momentarily when you start the engine since the starter uses a significant amount of current to start up the engine. But if the headlights dim or completely turn off, then it is an indicator that the lawnmower battery is weak and it doesn’t have enough current.
Note: If you notice that the lawnmower’s engine is not starting when the headlights are turned on then it is also an indicator that the battery of your mower doesn’t have enough power to handle the load of the headlights and the starter at the same time which is also a sign of a weak battery.

How to charge a lawnmower battery?
It is not uncommon for the lawnmower battery to go dead if the lawnmower hasn’t been used for more than a few weeks but luckily, most of the time, simply charging a dead battery brings it right back to life. Or, if you are going to store your mower for the winter season, then it is a good idea to connect the battery to a smart charger which will keep it charged and healthy throughout the winter and prevent it from going bad while it stays unused while the mower is stored. Either way, you will have to charge your lawnmower battery at some point, and here is how you can do it the proper way:
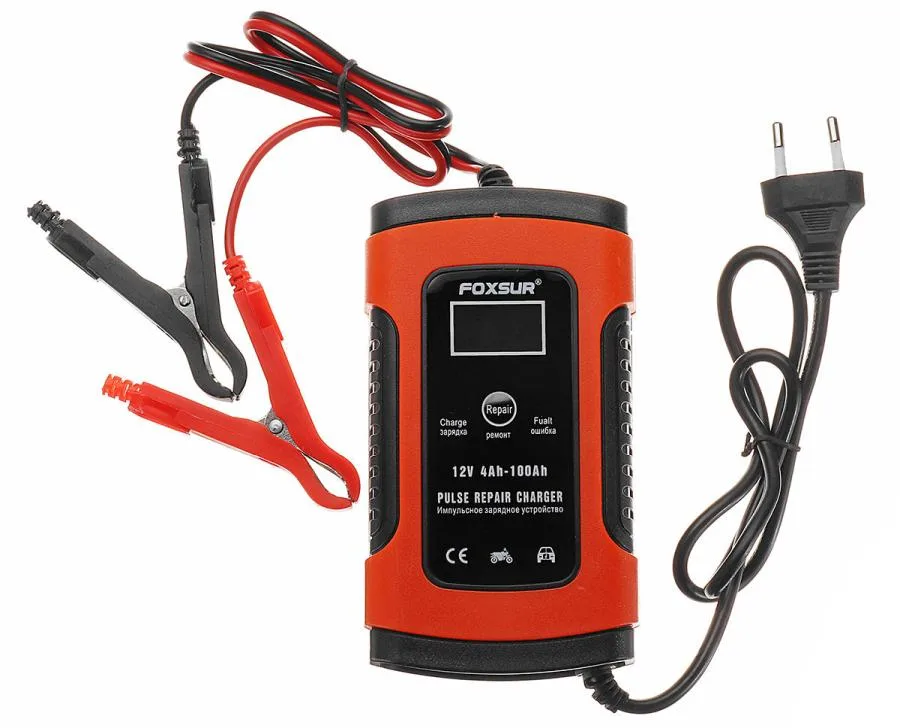
- Step 1: Find a suitable charger: You will require a good quality smart charger in order to charge a dead battery or to store the battery during winters. The reason why a modern 12-volt smart charger is a better choice is that it can automatically detect the state of the battery whether it is dead or requires a trickle charge and adjusts its voltage according to the condition of the battery. With an old battery charger, you run the risk of overcharging and damaging the battery because unlike modern smart chargers these older chargers don’t automatically stop charging when the battery is full. With a fully automatic smart battery charger, you can leave the battery connected for as long as you want because it will automatically charge the battery when needed and stop charging when it is full.
- Step 2. Remove the battery’s connections: You can charge the battery of your lawnmower while it is installed inside the lawnmower if you have a socket near the lawnmower to plug in the battery charger. But if you don’t have a socket nearby you will have to remove the battery and connect it with a charger where the socket is available. In order to remove the battery, you will have to remove the battery terminals using a small wrench and you should always remove the negative terminal first and then remove the positive one. After you have removed both terminals from the battery undo the strap that holds the battery in place and you can use the built-in handles to lift and remove the battery.
- Step 3: Clean the terminals: Ensure that the battery’s terminal posts are clean before you connect the battery charger to the battery. If you notice debris or corrosion on the terminal, you can use baking soda and distilled water to clean the terminals and remove corrosion. Add 2 tablespoons of baking soda to one tablespoon of water and mix the baking soda properly with water until it becomes thick. Now get some of this mixture on a cloth and rub it on the terminals of the battery and leave it on for a few minutes so that all the corrosion and dirt can be loosened up. Wipe off any loose dirt and corrosion and use small amounts of clean distilled water to rinse off both of the terminals.
Note: Make sure you apply the baking soda cleaning agent to only the terminals and avoid getting it on other parts of the battery to prevent the baking soda from getting into the battery.
- Step 4: Connect the charger cables: Now you are ready to connect the battery charger to the battery but first, make sure that the battery charger is unplugged from the power socket before you connect the battery to it. When connecting the battery charger to the battery you have to connect the positive cable of the charger to the positive terminal first and then connect the negative cable to the negative terminal.
- Step 5: Power the charger: Now plug the battery charger into the power outlet. The smart charger will confirm that the connection is good, and it will automatically start charging the battery. Once the battery is full it will be indicated as full. If you connect the battery to the charger for winter storage, make sure you leave the battery in a dry place.
How to jump-start a lawnmower battery?
If your lawnmower battery has died far away from any power socket or if the battery charger is not available the best way to get the lawnmower going is by jumpstarting it so that you can ride it back to the shed. In order to jump-start a lawnmower, you will need a car with a fully charged 12-volt battery and jumper cables.
- Step 1: Gain access to the battery: Access the battery of your lawnmower by removing the seat or the lawnmower’s hood to access the dead battery. You will have to connect one end of the positive jumper cable indicated by red color to the car battery’s positive terminal and then connect the other end to the positive terminal of a dead battery. Similarly, you will first have to connect one end of the negative jumper cable to the negative terminal of the car battery and then connect the other end of the negative jumper cable to the lawnmower frame. Make sure you don’t attach the negative terminal to any painted part of the body of the lawnmower, and the negative jumper cable is attached to the frame of the mower in the area away from the fuel tank.
Note: It is important to connect the positive terminals of both batteries first before connecting the negative terminals to avoid causing any damage to the electronic components of the lawnmower and the vehicle.
- Step 2. Once you have connected the jumper cables using the method explained above start the lawnmower engine and it should start without a problem. Make sure that the car is turned off when you are starting the lawnmower engine while the battery of the car is connected to the lawnmower.
Note: Keep the blades of the lawnmower in off position to allow the engine of the lawnmower to turn on using as little current as possible. Also, make sure that that the headlights of the lawnmower are turned off before you jump start it.
- Step 3. When you have the lawnmower running, remove the jumper cables in the exact opposite order to when you connected them. For example, remove the negative jumper cable from the negative terminal of the lawnmower frame first, and then remove the negative jumper cable from the negative terminal of the car battery. Similarly, you will have to remove the positive jumper cable from the positive terminal of the mower battery first and then from the car battery’s positive terminal.
- Step 4. Close the hood of the lawnmower and the car, and if you had to remove the seat of your lawnmower to access the battery, fasten it in place before riding the mower.
Keep in mind that you can only jump-start a 12-volt mower battery because the car battery will always be a 12 volt one. So if you have a 6-volt battery in your lawnmower, you cannot jump-start it, and your only option is to connect it to the battery charger to charge it. Therefore it is important to make sure your lawnmower has a 12-volt battery and if you are unsure, refer to the user manual of your lawnmower to confirm this. Once you have jump-started the lawnmower, ride it to your garage, where you can connect the battery to a battery charger because a battery that has been dead will require a full charge before it can be used again.
You can also use a portable jump-starting power bank to jump-start your lawnmower’s dead battery if you don’t have a car available. When connecting the portable jump starter to the battery, connect the positive cable of the portable jump starter to the positive terminal before connecting the negative cable to the negative one. Then turn on the portable jump starter and turn on the mower engine as well before removing the cables of the jump starter in the opposite order to when you put them on.
Final Remarks
It is a good idea to test a lawnmower’s battery at the start of every mowing season to ensure that it is in good shape so that you don’t run into any battery-related issues. If a lawnmower battery is discharging quickly and dying even after connecting it to the battery charger multiple times, then it means it has lost its ability to hold the charge, and it is best to get a brand new battery for your lawnmower. When getting the new lawnmower battery, make sure that it will fit your lawnmower’s battery mount, and its specifications match the recommended specifications provided in your lawnmower’s manual. Keeping an eye on your lawnmower battery’s condition saves you a lot of trouble from a weak or dead battery.
Jump-starting a lawnmower battery is a handy tip to know, especially in emergencies.
Thank you, Lawrence! Knowing how to jump-start a lawnmower battery can definitely come in handy during emergencies.
I will definitely be checking my lawnmower battery after reading this.
Thanks for taking the time to read the blog post and check your lawnmower battery, Wesley! Regular maintenance will definitely help keep your lawnmower running smoothly.
The safety precautions mentioned for handling lawnmower batteries are really important to remember.
Thank you for highlighting the importance of safety precautions for lawnmower batteries, Logan. It’s crucial to maintain them properly for optimal performance.
What are the signs that a battery is permanently damaged?
Hi Rosemary, the signs of a permanently damaged lawnmower battery include cracks, leaks, or reading less than 12 volts on a multimeter test. Testing it can help determine if it needs replacement.
What should I do if I don’t have access to a battery charger?
If you are unable to access a battery charger, you can jump-start your lawnmower battery using a car with jumper cables. Follow the steps provided in the article for a successful jump-start.
Do I need a special multimeter to test the battery?
Yes, you will need a multimeter to test the lawnmower battery. Follow the steps outlined in the article to test it properly. Good luck!
Are there any risks involved with jump-starting a lawnmower battery?
It is important to jump-start a lawnmower battery correctly to avoid damage to the mower’s electronic components. Follow the steps outlined in the blog post to safely jump-start your lawnmower.
This article has been really helpful in understanding the importance of maintaining a lawnmower battery.
Thank you, Clara! I’m glad you found the information on lawnmower batteries helpful. Make sure to test your battery regularly to avoid any starting issues. Happy mowing!
Can I test the battery without removing it from the lawnmower?
Yes, you can test the lawnmower battery without removing it by using a multimeter. Follow the steps outlined in the blog post to check the battery’s voltage.
Is it safe to handle a lawnmower battery if it’s leaking acid?
It is not safe to handle a lawnmower battery if it is leaking acid. Consider replacing it if damaged and follow safety precautions.
I never knew about visually inspecting the battery, thanks for the advice.
Glad you found the information helpful, Tommy! Feel free to reach out if you have any more questions about lawnmower maintenance.
Can a lawnmower battery explode if not properly maintained?
Audrey, riding lawnmowers require a battery to start and operate electric-powered accessories. A lawnmower battery can explode if not properly maintained or if it reaches the end of its useful lifespan. Test it with a multimeter to ensure it’s functioning well.
Thank you for the detailed steps on testing and maintaining lawnmower batteries.
Thank you for the positive feedback, Julia! I’m glad you found the information on testing and maintaining lawnmower batteries helpful. Happy mowing!
Very informative article, I had no idea lawnmower batteries needed maintenance.
Thank you, Carl! Remember to test your lawnmower battery regularly to avoid any starting issues. If you ever need help troubleshooting, feel free to reach out for assistance.
Great tips on how to extend the life of a lawnmower battery.
Thank you, Kristin! I’m glad you found the tips helpful. Let me know if you have any other questions about lawnmower maintenance.
I feel more prepared to handle battery issues with my lawnmower now, thanks to this article.
Thank you, Ana! I’m glad you found the article helpful in preparing to handle battery issues with your lawnmower. If you have any more questions, feel free to ask. Happy mowing!
How long should I leave the battery on the charger?
Hey Dennis, to ensure your lawnmower battery’s longevity, aim to disconnect it from the charger when it reaches a full charge. Leaving a battery on the charger for extended periods can lead to overcharging and decrease its lifespan.
Can I charge a lawnmower battery with a car battery?
Yes, you can charge a lawnmower battery with a car battery using jumper cables. Follow the steps outlined in the blog post for a successful jump-start.
How often should I visually inspect my lawnmower battery?
Hi Kirk, for a riding lawnmower battery, visually inspecting it every 3-6 months is recommended. If you suspect a problem, use a multimeter to test it. Remember, prevention is key!
I appreciate the step-by-step guide on how to test a lawnmower battery.
Thank you for your kind words, Bonnie. I’m glad you found the guide on testing lawnmower batteries helpful! Let me know if you have any other questions.